PREORDER 30001 : Aquatica AZr Housing
From: $3,995.00
Expected shipping: End of January 2026 (First come first serve)
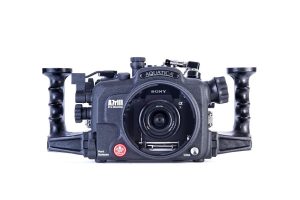
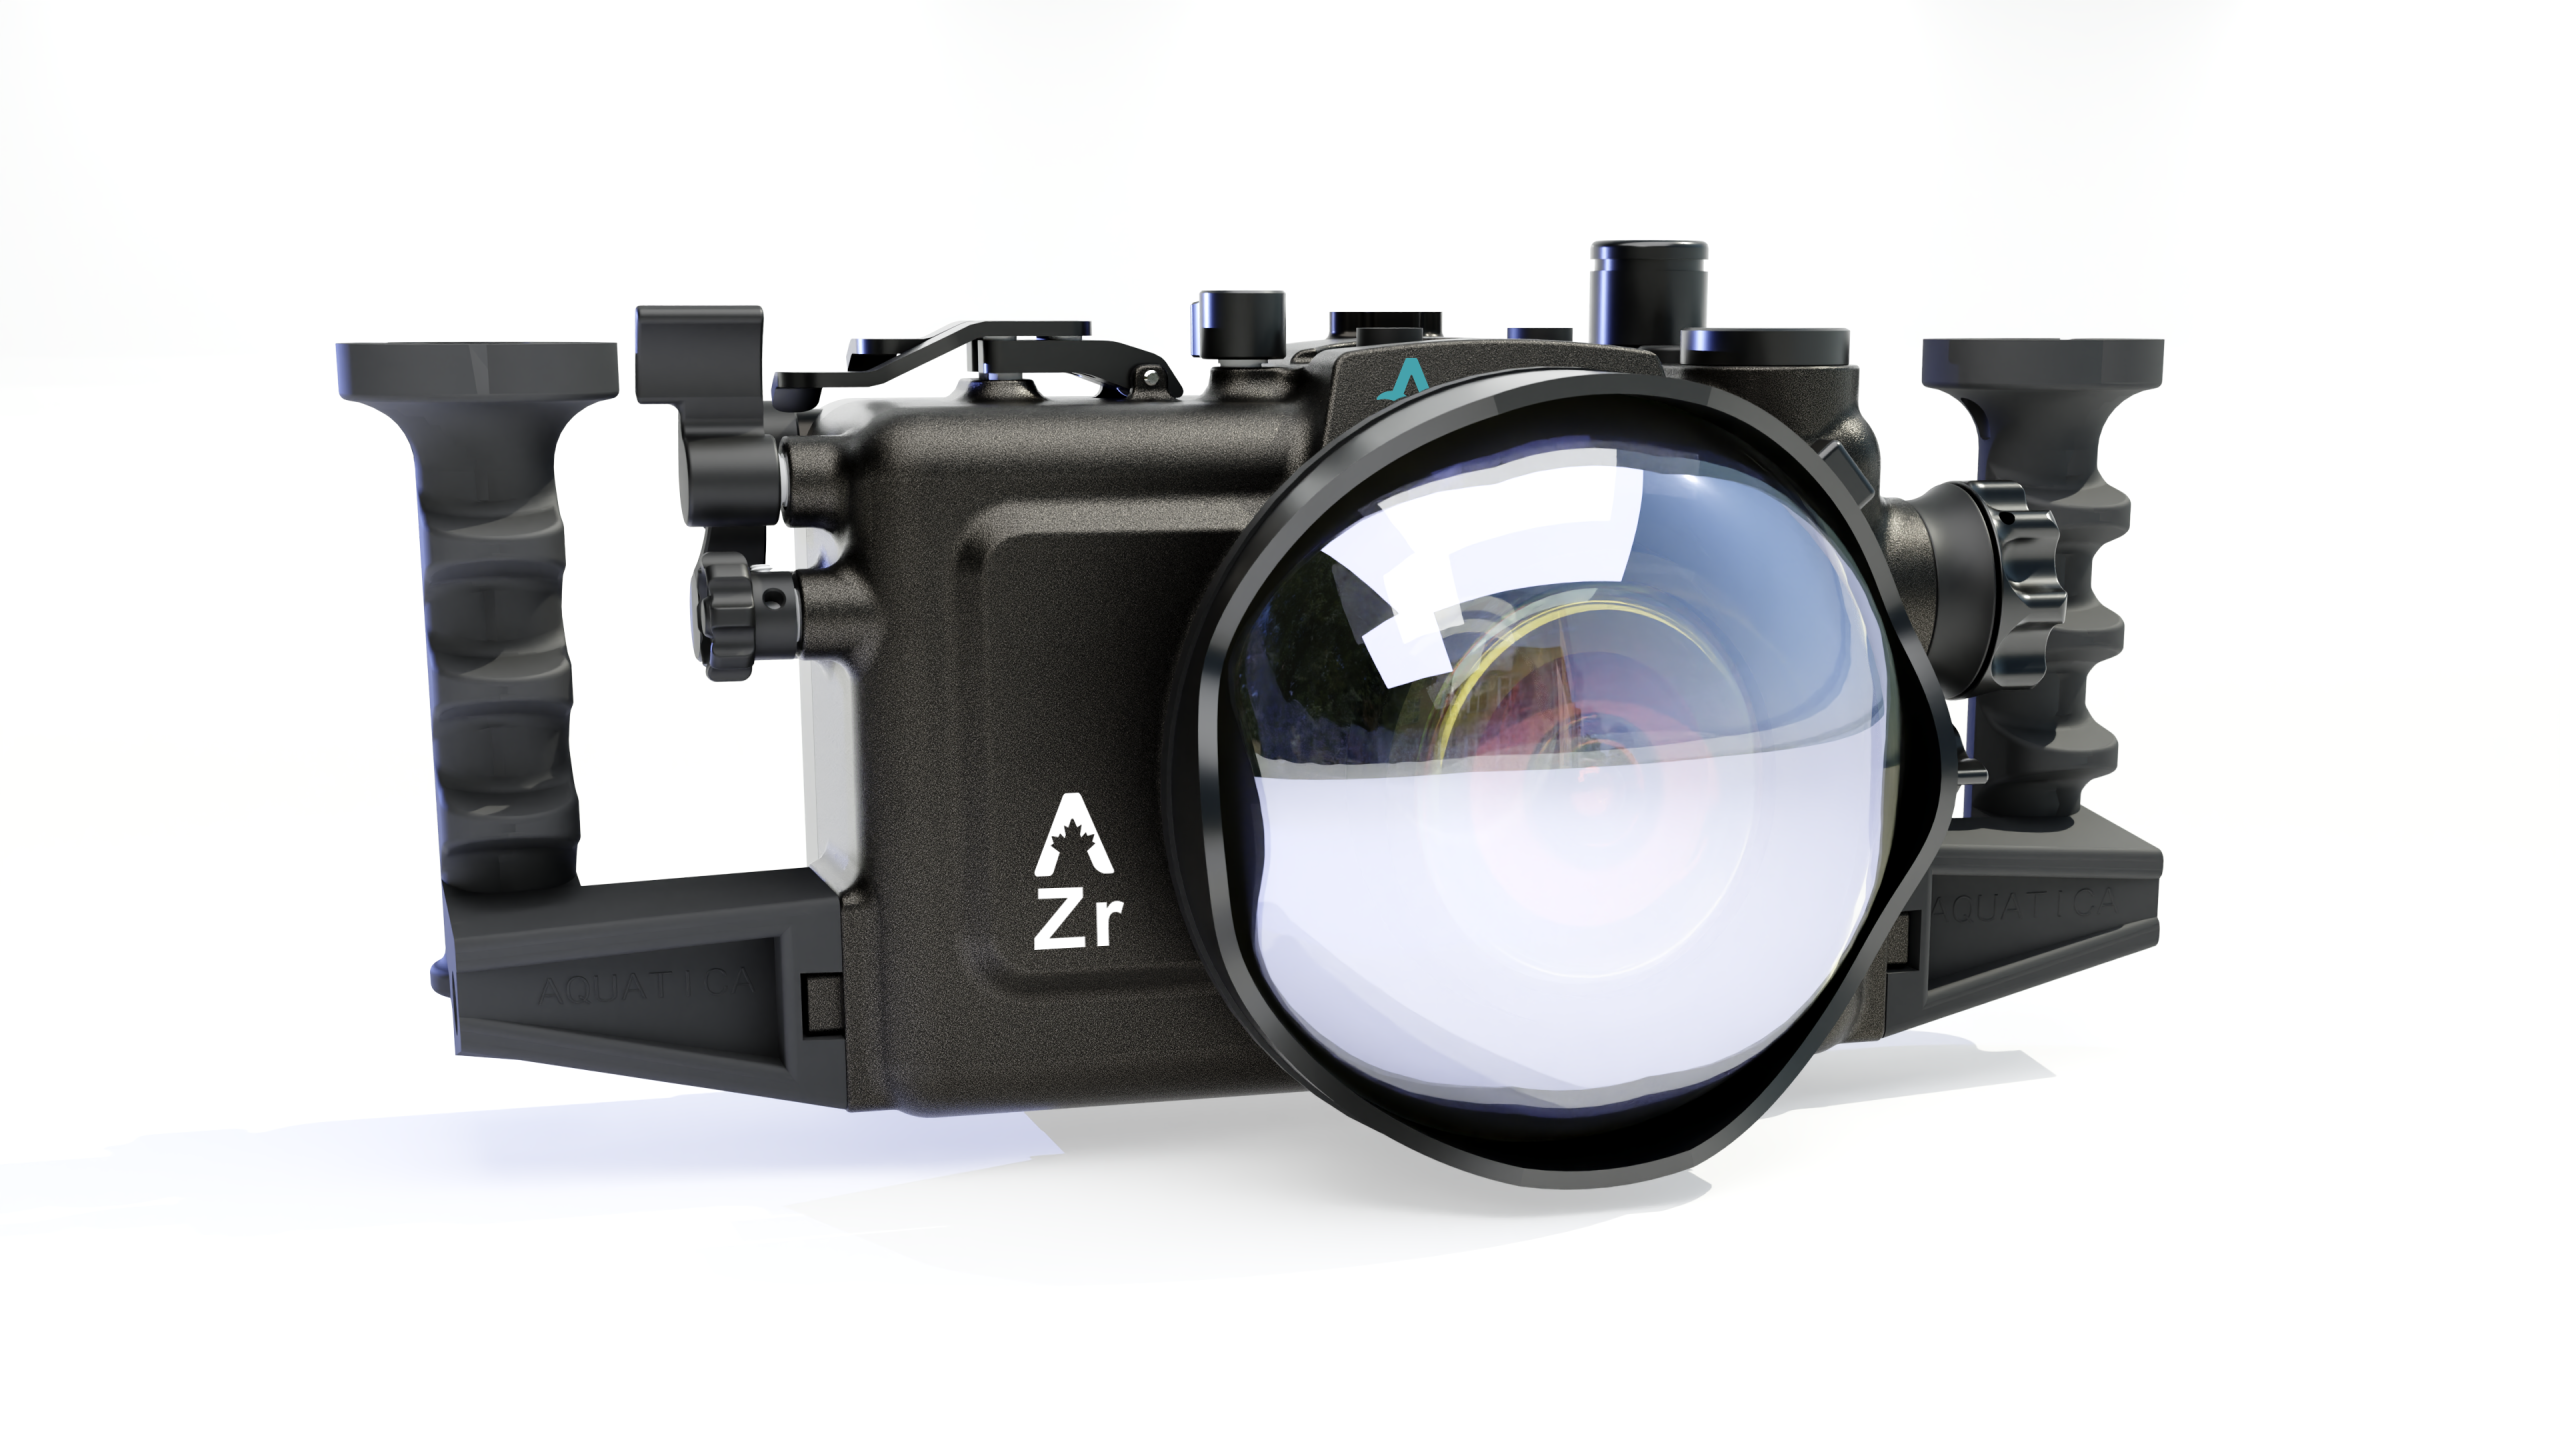
AZr Housing for the Nikon ZR Camera!
In our never-ending quest to offer the latest and greatest equipment to underwater photographers and videographers, Aquatica is proud to introduce the AZr housing for the Nikon ZR Mirrorless camera. Building on Aquatica’s reputation for premium quality at an accessible price, the AZr combines refined ergonomics and total control accessibility with the legendary ruggedness of our all-aluminum construction and distinctive hard coating. Note that this housing comes with the wet alarm and vacuum system installed.
ABOUT THE CAMERA – Nikon ZR
Designed as a fast, high-resolution hybrid camera, the Nikon ZR brings cutting-edge performance to demanding underwater shooters:
-
High-resolution FX-format sensor for exceptional detail and dynamic range
-
Next-generation stacked architecture for ultra-fast readout and reduced rolling shutter
-
Blazing-fast hybrid AF with dense frame coverage and advanced subject detection
-
AI-based tracking for fish, divers, and fast-moving subjects – ideal for action scenes
-
High-speed continuous shooting for capturing peak behavior and split-second moments
-
4K and higher-than-4K recording options for cinematic underwater video
-
10-bit internal recording and flat profiles for advanced color grading
-
Instant Photo / Video switching with separate custom settings for each mode
-
High-resolution EVF with blackout-free view for precise tracking
-
Tilting rear LCD for flexible framing in tight shooting positions
Underwater sharpness through speed
The ZR’s AF system is engineered for speed and intelligence. Its deep-learning subject detection and high-density AF coverage deliver confident focus even in low contrast, backscatter, and blue-water conditions. Schooling fish, fast-moving pelagics, or macro subjects that won’t stay still are locked on quickly and held in focus shot after shot, dramatically improving the sharpness and keeper rate of your underwater images.
True hybrid performance – Photo to Video in a heartbeat
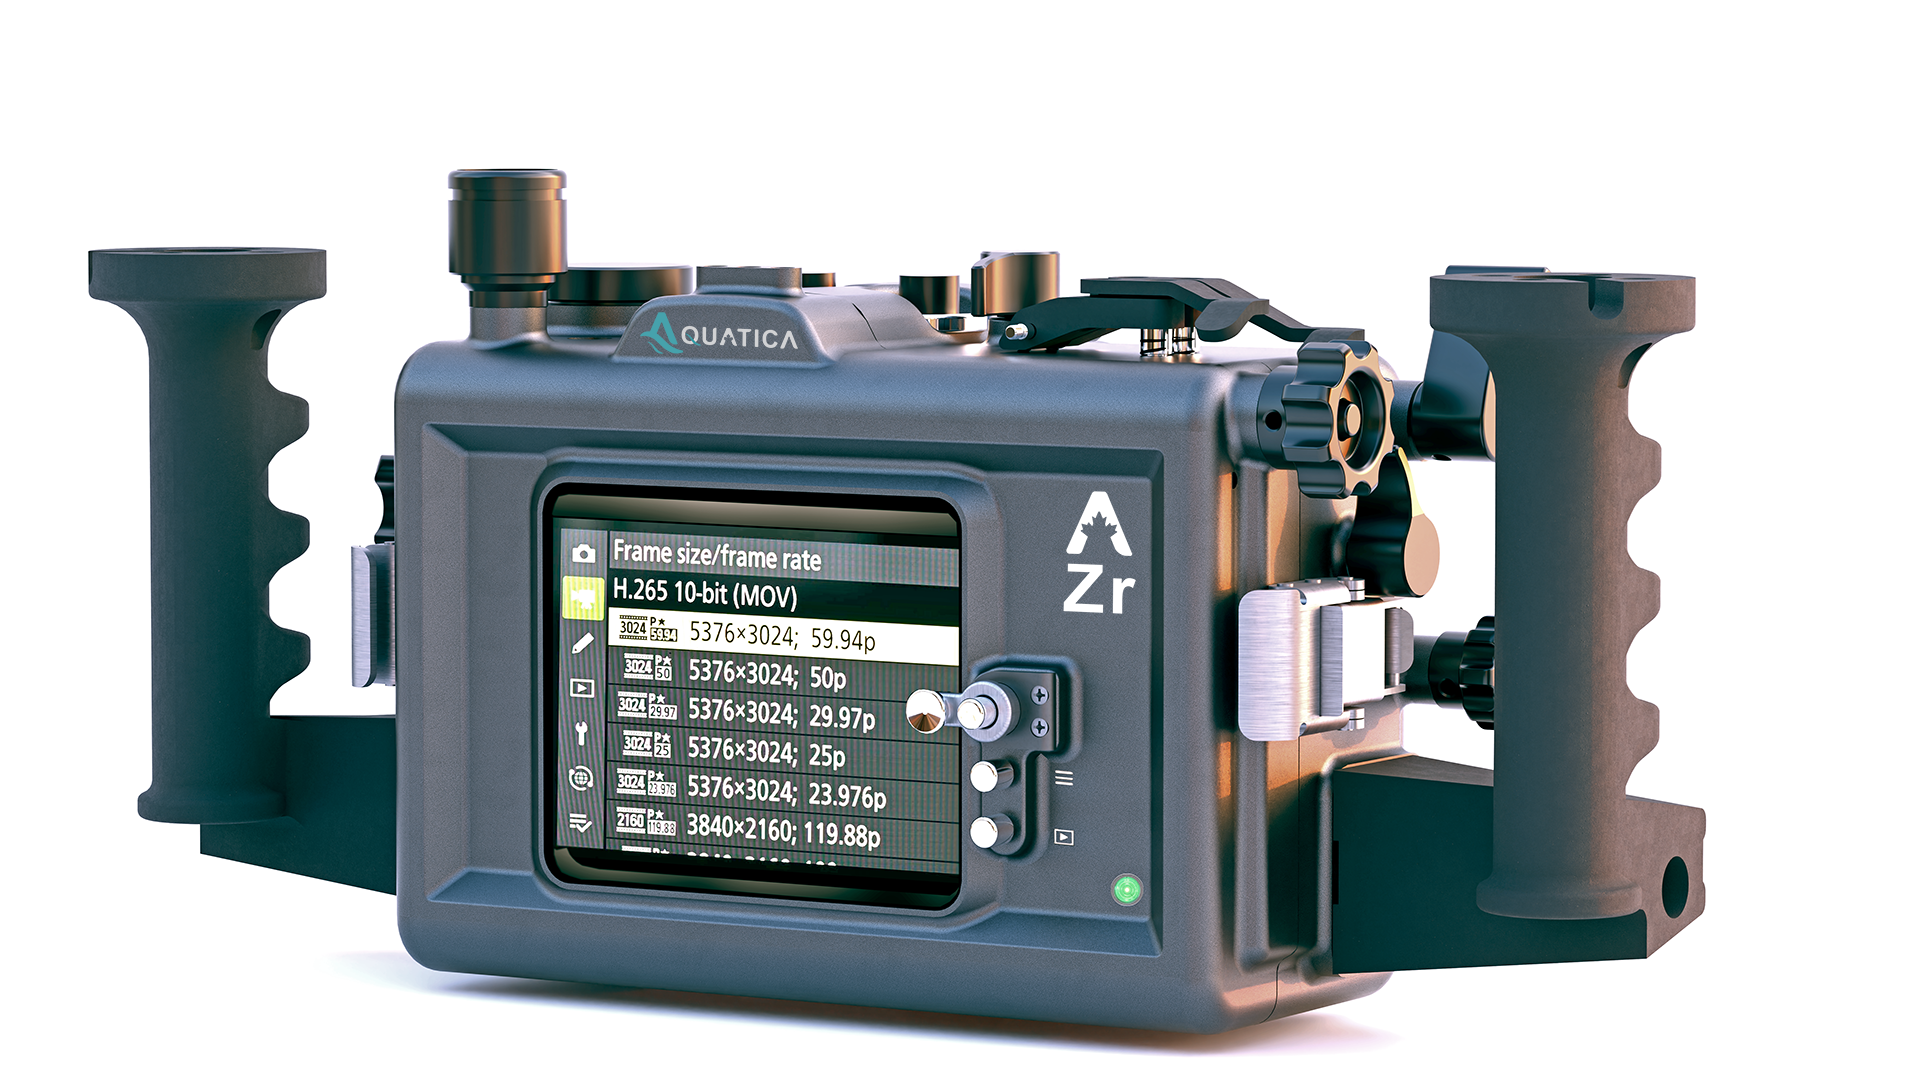
The Nikon ZR allows you to keep dedicated settings for photos and video. Combined with the AZr housing’s direct access to the Photo/Video controls, this means you can jump from high-resolution stills to smooth, high-frame-rate video with a single motion, without digging through menus. Capture the perfect still, then roll into video as the action continues, maximizing every encounter.
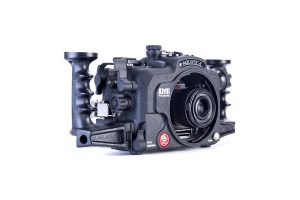
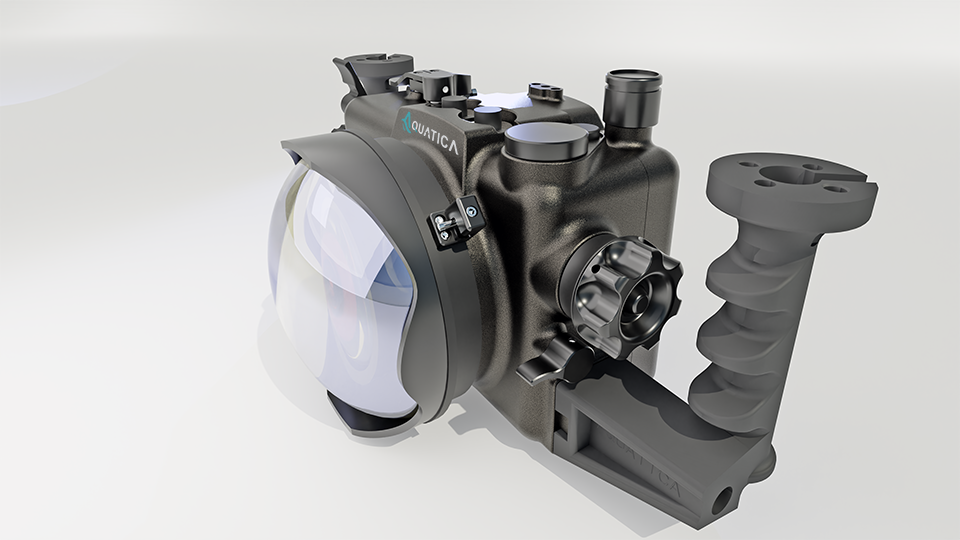
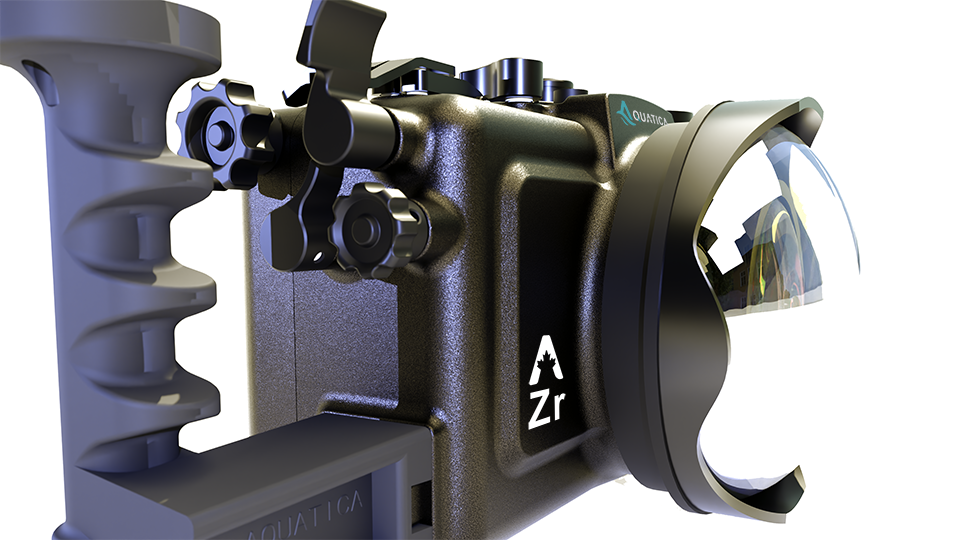
ABOUT THE HOUSING – Aquatica AZr
As with all Aquatica housings, the AZr is CNC-machined from 6061 T6 aluminum, then treated with a MIL-A-8625 anodized coating and finished with a baked-on, super-tough powder coat. All control shafts and push buttons are crafted from T304 stainless steel. This housing is built to take a beating and keep going, dive after dive.
-
Optimized for speed and control: The AZr layout puts AF-ON, joystick, and key focus controls exactly under your fingers, allowing you to select AF points, lock focus, and track subjects without taking your eye off the viewfinder.
-
Instant Photo/Video switching: A dedicated, glove-friendly control gives direct access to the ZR’s Photo/Video mode, so you can transition between stills and video without removing your hand from the grip.
-
Support for Z-mount and adapted lenses: The housing supports the latest Z-mount lenses as well as F-mount lenses via the FTZ adapter. The adapter can be removed from the camera without removing the camera from the housing, and there is a lens release for both F and Z mounts.
-
Full access to camera functions: As usual with Aquatica, all critical camera controls are brought out to the housing, ensuring you can take full advantage of the Nikon ZR’s capabilities underwater.
All housing controls are spring-loaded and self-centering where needed. Simply install the mounting tray on the camera and slide the assembly on the stainless-steel guide rails. It couldn’t be simpler or more secure.
To protect your investment, the Surveyor Vacuum System (valve and pump) is included as standard equipment with all AZr housings. This vacuum system provides an extra layer of security: if air is not seeping into the housing, water will not either. A quick pre-dive vacuum check gives you peace of mind before every descent.
| Weight | 3.5 lbs |
|---|---|
| Dimensions | 8 × 8 × 8 in |
| Available Strobe Connectors | Optical Strobe Connectors, Nikonos Strobe Connectors, Ikelite Strobe Connector (only one needed) |
| Vacuum System | Included in with the purchase of any housing. |
Specifications
(Preliminary)
-
Model: Aquatica AZr Housing for Nikon ZR #30001
-
Composition: Aerospace-grade 6061 T6 aluminum with MIL-A-8625 anodized coating, finished with baked-on, abrasion-resistant powder coat. Control shafts and push buttons in T304 stainless steel.
-
HDMI: Large 23.75 mm (0.950″) HDMI bulkhead opening for external monitor options
-
Depth Rating: 90 m / 300 ft standard
-
Weight (w/o handles): Approx. 2 kg / 4.5 lb
-
Dimensions (w/o handles): Approx. 204 mm x 267 mm x 170 mm (8.3” x 10.5” x 6.7”)
-
Port System: Compatible with all Aquatica DSLR-sized bayonet-mount ports
Supported Accessories
-
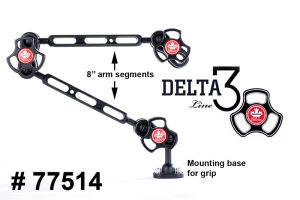
Full line of Delta 3 Arm System
-
5HD Monitor
-
Aquatica Close-Up Kit
-
Aquatica Housing Lanyard Kit
With the Nikon ZR + Aquatica AZr combination, you get a fast, intelligent camera and a rugged, precision-engineered housing that together deliver lightning-quick focus, crisp underwater sharpness, and seamless Photo/Video versatility—ready for whatever the ocean brings.
What's is included
- Aquatica AZr Housing
- Camera saddle
- FTZ adapter saddle
- Surveyor Wet Alarm and Vacuum System
- Handle grips (2) with screws (2)
- Spare housing seal O-ring
- CR 2032 coin cell battery (for Surveyor)
- Aquatica O-ring lubricant container
- Vacuum pump
Lens Chart
The ZR uses the Nikon Z mount, so it supports native NIKKOR Z lenses, and you can also use many F-mount lenses via the FTZ adapter when a specific F lens is preferred (e.g., classic fisheyes).
Here are some use cases for great underwater setups for your AZR housing:
1) Ultra-wide / Fisheye (big animals, wrecks, reefs, “close-focus wide angle”)
Why underwater: Water reduces contrast and “adds haze,” so the best strategy is to get very close while still fitting the subject in the frame. Ultra-wide and fisheye lenses let you do that, producing cleaner colour and sharper images.
Typical lens choices
-
NIKKOR Z 14–24mm f/2.8 S (rectilinear ultra-wide): big scenes, wreck interiors, wide video with less distortion than fisheye.
-
NIKKOR Z 14–30mm f/4 S (travel-friendly wide): lighter, excellent for reef scenics and general wide.
-
NIKKOR Z 20mm f/1.8 S (wide prime): strong edge quality; great for deliberate wide compositions.
-
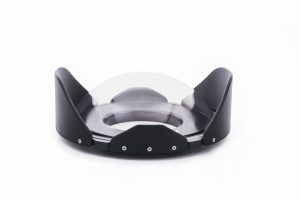
AF-S F 8–15mm f/3.5–4.5 Fisheye (via FTZ): a go-to for CFWA (close-focus wide angle) and dynamic “in-your-face” reef imagery (especially behind a dome).
Underwater port logic (high level)
-
Wide/fisheye lenses are typically paired with a dome port to preserve the field of view and improve corner performance.
2) Wide-to-standard zooms used with wet optics (fast “one-dive versatility”)
Why underwater: If you need flexibility (travel, unpredictable subjects, mixed photo/video), compact zooms can be paired with wet wide and/or wet macro accessories, letting you change “look” during the dive without opening the housing.
Typical lens choices
-
NIKKOR Z 24–50mm f/4–6.3: compact; commonly chosen specifically to work well with wet wide solutions for a very flexible rig.
-
NIKKOR Z 24–70mm f/4 S or 24–70mm f/2.8 S: higher optical performance; strong for video work when you want controlled framing changes.
Underwater port logic
-
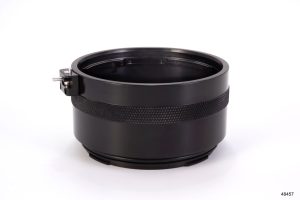
Often used behind a flat port (or a dedicated wide solution, depending on your system philosophy).
3) Macro (small critters, detail work, commercial/product-style shots)
Why underwater: Macro reduces the water column to almost nothing because you’re shooting at very short distances—this is where you get the highest sharpness and best colour with strobes, and the most controlled backgrounds.
Typical lens choices
-
NIKKOR Z MC 105mm f/2.8 VR S: the benchmark for fish portraits and small subjects; exceptional detail rendering.
-
NIKKOR Z MC 50mm f/2.8: useful when subjects are larger (not tiny) or when visibility is limited, and a 105mm is too “tight.”
Underwater port logic
-
Macro lenses typically use a flat port; add close-up diopters for super-macro when needed.
4) “Best practice” lens selection (simple decision rules)
-
If your diving is big animals / reefs / wrecks: prioritize 14–24 or 8–15 fisheye (FTZ).
-
If your diving is small life / critters: prioritize Z 105 macro.
-
If you want a single travel lens strategy: consider a compact zoom (e.g., 24–50) designed around wet optics, plus a dedicated macro day with the 105.
5) How this ties back to an Aquatica “Lens Chart”
Your Aquatica lens chart exists to map each supported lens to the correct port type (dome/flat), required extension(s), and gear(s)—that’s the difference between “it fits” and “it performs.”
Access our Nikon Lens chart here: (Coming Soon)
Maintenance
Housing for Nikon ZR (AZr)
1. Purpose and scope
This guide defines best practices for cleaning, inspection, lubrication, storage, and service intervals for your Aquatica housing system. Proper care reduces the likelihood of leaks, improves control feel, and extends seal and component life.
Important: This guide complements (does not replace) your official Aquatica manual and any port chart notes for your specific configuration.
2. Core principles (underwater housings)
-
Clean seals only: Most floods start with contamination (hair, sand, salt crystals) on an O-ring or sealing surface.
-
Minimal grease: Silicone grease is a conditioning aid, not a “sealant.” Over-greasing attracts debris.
-
Rinse + actuate: Salt can hide in control glands; always rinse and cycle controls to flush residues.
-
Dry before opening: Open the housing only in a clean, dry environment to avoid introducing moisture and debris.
3. Pre-dive inspection and setup (every dive day)
3.1 Workspace preparation
-
Choose a clean, dry, stable surface away from wind/spray.
-
Keep lint-free cloths, blower bulb, spare O-rings, and grease available.
-
Wash and dry hands to reduce contamination.
3.2 Housing visual inspection
-
Confirm no dents, cracks, or gouges near sealing edges.
-
Check that all bulkheads/caps are tight and seated (do not overtighten).
-
Confirm the port locking mechanism is clean and fully functional.
3.3 Main O-ring (rear door) check
-
Remove the main O-ring carefully (use your fingers; avoid sharp tools).
-
Inspect for:
-
Cuts, nicks, flat spots, twisting
-
Embedded debris, hair, lint
-
-
Clean with a lint-free cloth. If needed, rinse with fresh water and fully dry.
-
Apply a thin, uniform film of the recommended silicone grease (barely visible sheen).
-
Inspect the O-ring groove and mating surface for debris.
-
Reinstall O-ring without stretching or twisting.
3.4 Port O-ring check (every port change)
-
Repeat the same inspect/clean/light-grease routine for the port O-ring and port sealing face.
-
Confirm the port is fully seated and locked according to your system method.
3.5 Controls functional check
-
Cycle every control through its full travel:
-
Buttons return crisply
-
Levers move smoothly without binding
-
Dials rotate freely
-
-
If any control feels “gritty” or sticky, do not force it. Rinse/soak and re-check (see Section 6).
3.6 Optional: vacuum/leak check (recommended)
If your housing is equipped with a vacuum valve and indicator:
-
Pull vacuum to your standard level and hold for the recommended duration prior to entering the water.
-
Any pressure loss indicates a sealing issue: re-check O-rings and sealing surfaces before diving.
4. In-water handling best practices
-
Avoid setting the housing in sand; use a mat, bucket, or padded station on deck.
-
Keep the port covered whenever possible (especially domes).
-
Avoid rapid temperature swings (hot deck → cold water) which can drive condensation.
-
When surfacing between dives, keep the housing shaded and rinse if possible.
5. Post-dive cleaning (every dive day)
5.1 Immediate rinse
-
Rinse the entire system with fresh water as soon as possible.
-
If you cannot rinse immediately, keep the housing out of direct sun and salt spray.
5.2 Freshwater soak (recommended)
-
Soak the housing/port assembly in a freshwater tub for 20–30 minutes.
-
While soaking, actuate all controls repeatedly to flush salt from glands and springs.
-
Rinse again with clean fresh water afterward.
5.3 Drying and opening procedure
-
Dry exterior with a towel; pay attention to port-to-body seams and latches.
-
Let remaining water drain away from the back seam.
-
Open the housing in a clean, dry area.
-
Remove camera and inspect interior for any moisture.
If you find water inside: see Section 11 (Troubleshooting) before your next dive.
6. O-ring care (best practices)
6.1 Cleaning
-
Use only:
-
Fresh water
-
Lint-free cloths
-
Air blower bulb (optional)
-
-
Avoid paper towels (lint), solvents, and abrasive cloths.
6.2 Lubrication
-
Use the grease recommended by Aquatica.
-
Apply a light film only. Excess grease can trap debris and compromise seals.
6.3 Replacement guidance
Replace O-rings when you observe:
-
Nicks/cuts
-
Permanent flattening or cracking
-
Persistent sealing issues despite proper cleaning
As a general operating practice, keep:
-
Spare main O-ring
-
Spare port O-ring(s)
-
Any specialty O-rings specific to your bulkheads/valves (as applicable)
7. Ports and optical surfaces
7.1 Dome ports
-
Always use a dome cover when not shooting.
-
Clean with fresh water and a microfiber cloth.
-
Avoid dry-wiping a salty dome (salt crystals can scratch).
-
For stubborn residue: soak in fresh water, then wipe gently.
7.2 Flat ports
-
Treat similarly to domes; avoid abrasive cleaners.
-
Inspect the front surface for scratches and salt film before each dive.
7.3 Anti-fog and condensation control
-
Ensure the housing interior is dry before sealing.
-
Use desiccant packs if your environment is humid or there are major temperature changes.
-
Avoid leaving the sealed housing baking in direct sunlight.
8. Controls and mechanisms
8.1 Routine care
-
Post-dive soak + control cycling is the single best way to keep controls smooth.
-
If a control becomes sticky:
-
Soak longer (30–60 minutes)
-
Cycle gently—do not force
-
If still sticky, discontinue use and schedule inspection/service
-
8.2 Do not apply oil or unapproved lubricants
Unapproved lubricants can swell seals, attract grit, and damage materials. Use only recommended products.
9. Bulkheads, connectors, and caps (including USB-C access if installed)
-
Always keep connector caps installed when not in use.
-
Before every dive:
-
Inspect bulkhead O-rings (if user-serviceable)
-
Confirm mating surfaces are clean and dry
-
Verify connectors are fully seated and secured
-
-
After saltwater use:
-
Rinse bulkhead areas thoroughly and actuate any related controls/caps.
-
If you are using an external USB-C access/bulkhead:
-
Never connect/disconnect while wet or with visible moisture present.
-
Dry the connector area thoroughly before opening caps.
-
Inspect the sealing O-ring and cap threads regularly for salt buildup.
10. Storage and travel
10.1 Short-term storage (between dive days)
-
Store the housing clean and dry.
-
Keep it out of heat and direct sunlight.
-
Store with port cover installed and controls relaxed.
10.2 Long-term storage (weeks/months)
-
Clean and fully dry housing and ports.
-
Remove main and port O-rings (recommended for long storage):
-
Clean, lightly lubricate, and store in a sealed bag away from heat/UV.
-
-
Store the housing with latches unfastened (avoid compressing seals long-term).
-
Use a protective case; avoid stacking heavy gear on the port.
10.3 Travel
-
Use padded protection for dome ports.
-
Carry critical spares in your carry-on:
-
Main O-ring, port O-ring, grease, microfiber cloths
-
11. Troubleshooting quick reference
| Symptom | Likely cause | Immediate action | Next step |
|---|---|---|---|
| Moisture droplets inside | Opened in humid environment, condensation | Dry housing, camera, and interior | Use desiccant; avoid sun/heat swings |
| Water near port seam | Port O-ring contamination, port not fully seated | Stop diving; open in dry area | Clean/inspect O-ring and sealing face; re-seat |
| Water near rear door | Main O-ring contamination/twist | Stop; open/dry | Clean/inspect, reinstall carefully; vacuum test if available |
| Sticky buttons/dials | Salt trapped in glands | Soak longer; cycle gently | If unresolved, schedule service |
| Vacuum won’t hold | O-ring contamination, cap/bulkhead issue | Recheck all seals | Isolate by re-seating one seal at a time |
After any significant leak/flood: rinse electronics with appropriate steps per manufacturer guidance and contact Aquatica service for inspection before reuse.
12. Printable checklists
12.1 Pre-dive checklist
-
Main O-ring removed, cleaned, lightly greased, reinstalled
-
Groove and mating surfaces clean (no hair/sand)
-
Port O-ring clean; port fully seated and locked
-
Bulkheads/caps seated and secure
-
Controls cycled and confirmed smooth
-
(If equipped) Vacuum test passed and stable
12.2 Post-dive checklist
-
Freshwater rinse completed
-
20–30 min soak completed; controls cycled during soak
-
Exterior dried prior to opening
-
Interior inspected for moisture
-
Port and dome/flat surface cleaned; covers installed
-
Housing stored clean, dry, and protected